
Model Session Guide
A practical guide for drawing and painting from the live model.
Start with movement, not anatomy
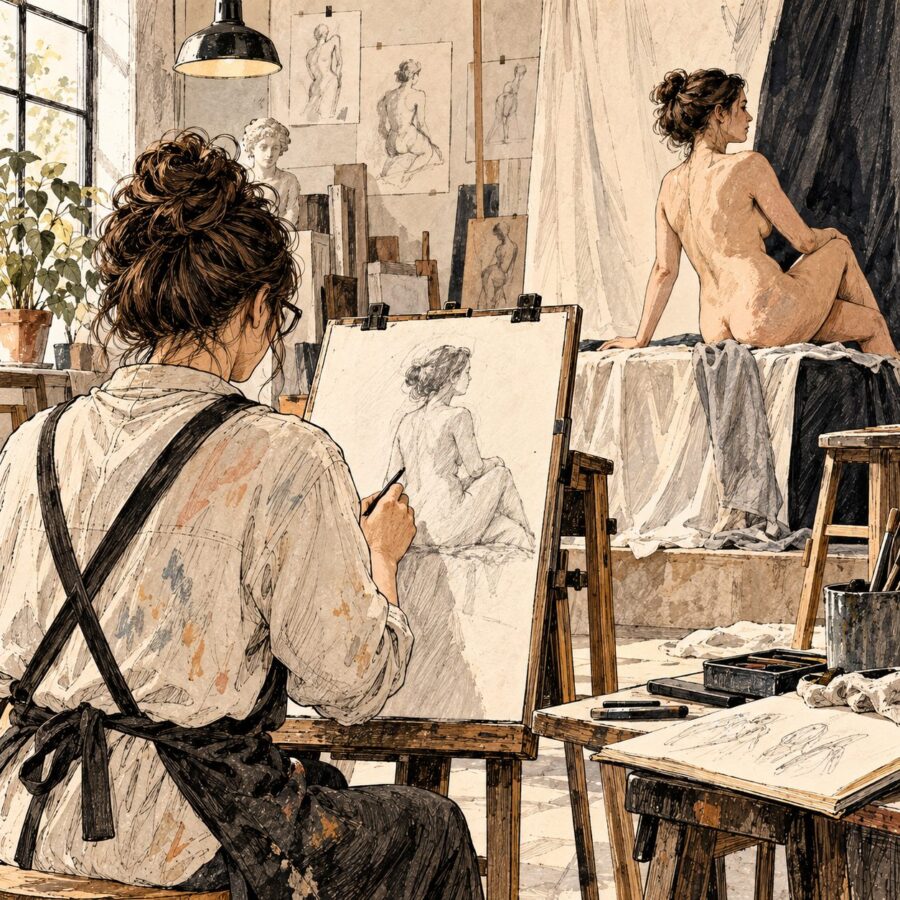
Life drawing is one of the clearest ways to train direct observation. The subject is complex, but the first decisions can stay simple.
The figure can tempt you into details too early. Begin with the action of the pose: where the weight sits, how the torso tilts, where the limbs travel and what keeps the body balanced.
A drawing with convincing gesture can survive imperfect anatomy. A perfectly described hand cannot rescue a figure that has no weight.
What to bring
Life drawing works well with simple materials because speed and clarity matter more than equipment.
Dry drawing kit
Charcoal or graphite
Conté or soft pencil
Kneaded eraser
Large paper or newsprint
Drawing board and clips
Ink & color
Brush pen or fountain pen
Sanguine or colored pencil
Limited watercolor or gouache
Large brush for simple value masses
Useful extras
Sharpener
Masking tape
Portfolio or paper folder
Water bottle
Cloth or tissues
Timer only if you are organizing
Understand the pose length
Different pose lengths ask for different decisions.
30 sec – 2 min
Gesture, direction and weight. Use the whole arm. One line can be enough if it carries the action.
5 – 15 min
Gesture plus proportion. Add the main masses, overlaps and a few anatomical landmarks.
20 min and longer
Develop structure, values, edges and smaller relationships without losing the original action.
Build the figure from large relationships
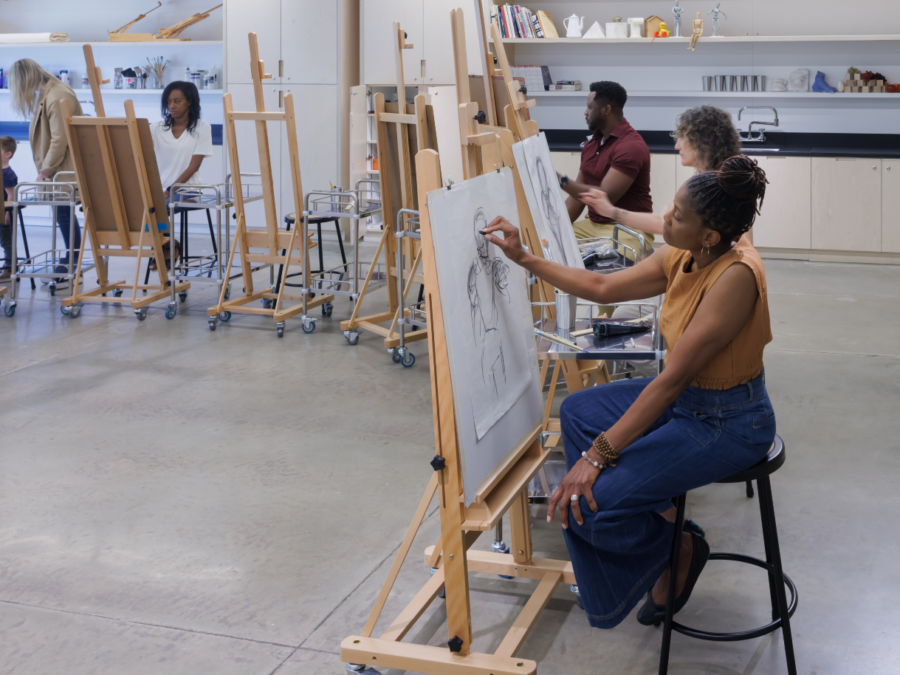
1. Line of action: what is the main directional energy?
2. Rib cage and pelvis: treat them as two large masses and compare their tilts.
3. Weight-bearing leg or support: where is the body actually resting?
4. Limbs: place their big direction before describing muscles.
5. Head, hands and feet: add them as masses first, details later.
Measure what you can compare
Vertical alignments: where does the head sit over the rib cage, pelvis and feet?
Angles: compare shoulders, hips, forearms and legs.
Negative spaces: the shapes between arm and torso or between the legs can be easier to judge than the limbs themselves.
Proportion: use the head or another stable unit only as a comparison tool, not a rigid formula.
Plumb lines: imagine a vertical line dropping through key landmarks to test balance.
Anatomy: use landmarks, not labels
You do not need to name every muscle while drawing. Look for visible structural landmarks: the pit of the neck, rib cage edge, elbows, iliac crest, knees, ankles and the direction of the spine.
Anatomy becomes useful when it helps you explain a form you can actually see.
Respect the model and the room
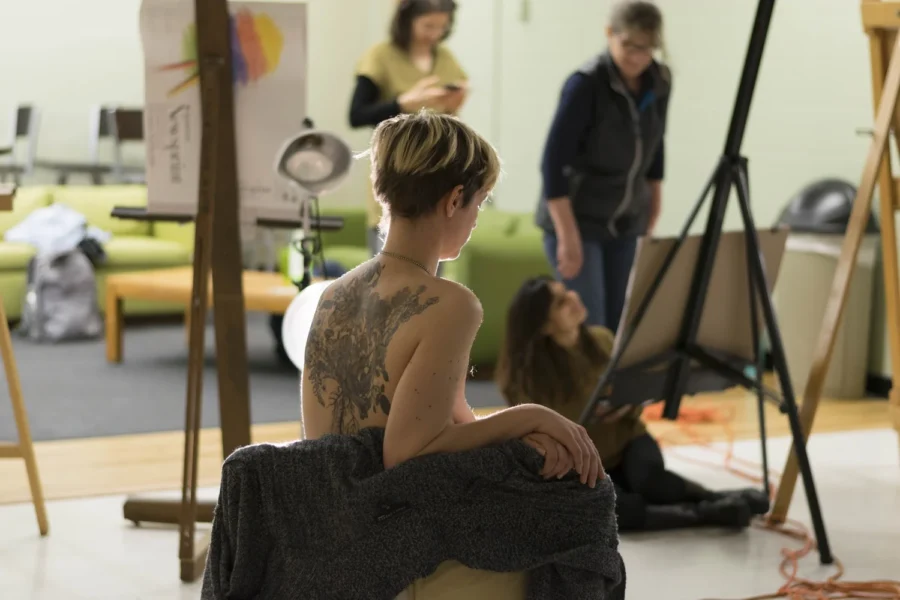
Arrive on time. Entering during a pose disrupts the model and the group.
Do not photograph or record the model unless the model and organizer have explicitly agreed to it.
Do not touch the model, comment on their body or approach the platform during breaks without invitation.
Respect breaks, privacy screens, changing areas and the organizer’s rules. The model is a professional collaborator, not an object.
Paintomic App in a model session
Only use the camera if photography has been explicitly permitted by both the model and the organizer.
If it is permitted, Paintomic App can help you check proportion, angles, values and relationships from an approved reference. If photography is not permitted, keep the phone away and work entirely from direct observation.
Paintomic App should never become a reason to ignore a model’s privacy.
Color studies and studio setup
Use image analysis only with a reference explicitly approved by the model and organizer. Prepare your easel before the pose begins.
Compare the color balance
With an approved reference, use Image colors to compare larger color areas and small accents before starting a color study.
Study a color and a mixture
Select a color from the approved reference and explore its suggested paint mixture and proportions. Test it on your real palette, then return to direct observation.
Choose your physical paints
For an Oil, Gouache or Mixed media study, choose Basic, Zorn or Custom in My palette and add or remove named paints to match your materials.
Set up your easel
Use Preferences and Level easel before the pose begins to check balance and inclination and prepare a comfortable working position.
Communities & useful resources
Examples of life-drawing communities, directories and organizations where you can find sessions, models or practical information.
Basic Inquiry
The Vancouver Life Drawing Society, a volunteer-run nonprofit offering regular figure and portrait drawing sessions.
LifeModel.art
A collaborative directory connecting life models, artists, art schools and cultural centers.
Meetup Art
A UK-based directory for life drawing sessions, groups, tutors and professional art models.
Life Models’ Society
A nonprofit society in Australia supporting life models and running drawing sessions and workshops.
If you organize a Model Session
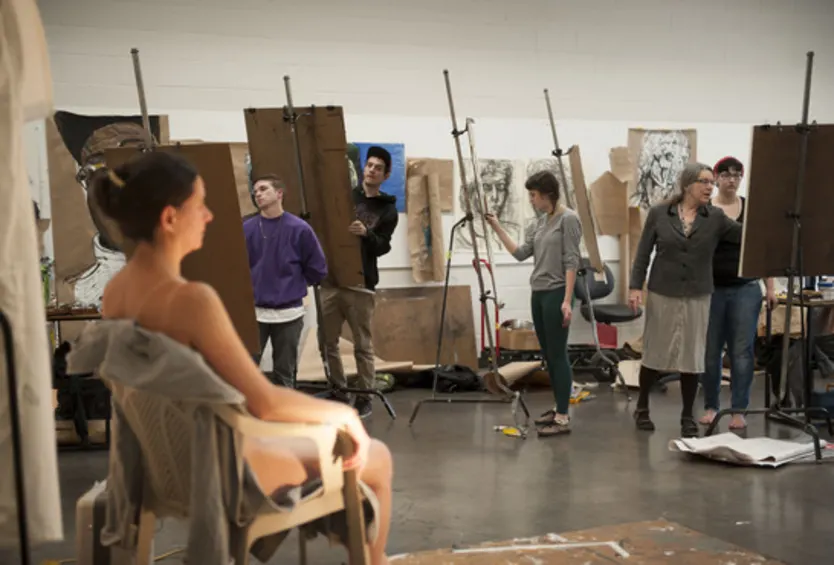
Agree on the pose schedule and breaks with the model before the session. Make the photography policy explicit. Provide a warm, private changing area and a stable platform or chair. Explain the session format to artists at the beginning. Pay the model fairly and on the agreed terms.
A simple structure works well: short gestures to warm up, medium poses to study proportion, then one or two longer poses.
Quick session checklist
□ Large paper or sketchbook
□ Drawing board and clips
□ Charcoal / graphite / pen
□ Kneaded eraser
□ Sharpener
□ Water bottle
□ Portfolio or folder
□ Phone away unless photography is permitted
At the start of every pose: find the gesture before you find the details.
Draw the whole figure before you decorate a part of it.
Gesture first. Structure second. Detail last.
Recommended Reading
Books to support your practice, with links to publishers or the author’s official book list.
Dr. Paul Richer
Human anatomy
A reference on human structure for figure artists. English translation and edition by Robert Beverly Hale.
Juliette Aristides
Drawing foundations
A structured introduction to observation, proportion and form.
Juliette Aristides
Drawing foundations
Progressive lessons for developing observation and drawing skills.
Juliette Aristides
Drawing practice
A workbook for building drawing skills through regular practice.
Juliette Aristides
Figure drawing
Step-by-step studies of the human figure.